
DEW4.1. Aerial Photography
Much of the material in this investigation is provided by
Don McCasland of Blue Hill Observatory.
The great benefit of kites, balloons, blimps and poles for aerial photography is that they allow relatively close up imagery of the subject. It is fun and educational to compare the imagery from a low altitude (50 to 250 feet above ground) picture to satellite imagery of the same location. These low altitude images can be set up to match “pixels” of a satellite image. For analysis of vegetation health, you can put filters on the camera or use the computer to change the view/filtering.
Pick a type of flying contraption to build (or buy), mount a digital camera on, and start getting aerial images of your locality:
- drone
- balloon
- blimp
- kite
Drones
Drones have become more and more commonly available commercially and they get easier and easier to operate. A more official name for a drone is unmanned aerial vehicle (UAV). Much of the material in this chapter concerning the importance of lightweight imaging and sensing equipment also applies for UAVs. Here’s an excellent resource for getting started in learning about UAVs and engaging in aerial photography with them:
UAV Coach — http://uavcoach.com/.
Balloons
A very good resource for learning how to use balloons in aerial photography is the Public Laboratory for Open Technology and Science. They have been working hard to make imagery collection easy, cheap and accessible. Their grassroots mapping work is based on the idea that citizens anywhere should be able to explore the environment in and around their communities, by collecting their own imagery and other data, and to do it in a way that is useful for scientific and social purposes. The Public Laboratory developed an open source balloon mapping toolkit that allows anyone with an inexpensive digital point and shoot camera, and about $100 of other parts (balloon, helium, line, soda bottle, etc.) to take photos of the ground around them. They also provide a web-based tool called MapKnitter for aligning the photos into a georeferenced image that can be used in Google Earth and other digital mapping tools. See (https://maps.googleblog.com/2012/04/balloon-and-kite-imagery-in-google.html)
Blimps
A blimp can be a pretty pricey flying contraption, but simple in principle. Try doing an internet search for “blimp” and use a “shopping” tab to find out what’s available. Mounting a digital camera on a blimp is a similar challenge to amounting a camera on the other devices on this page.
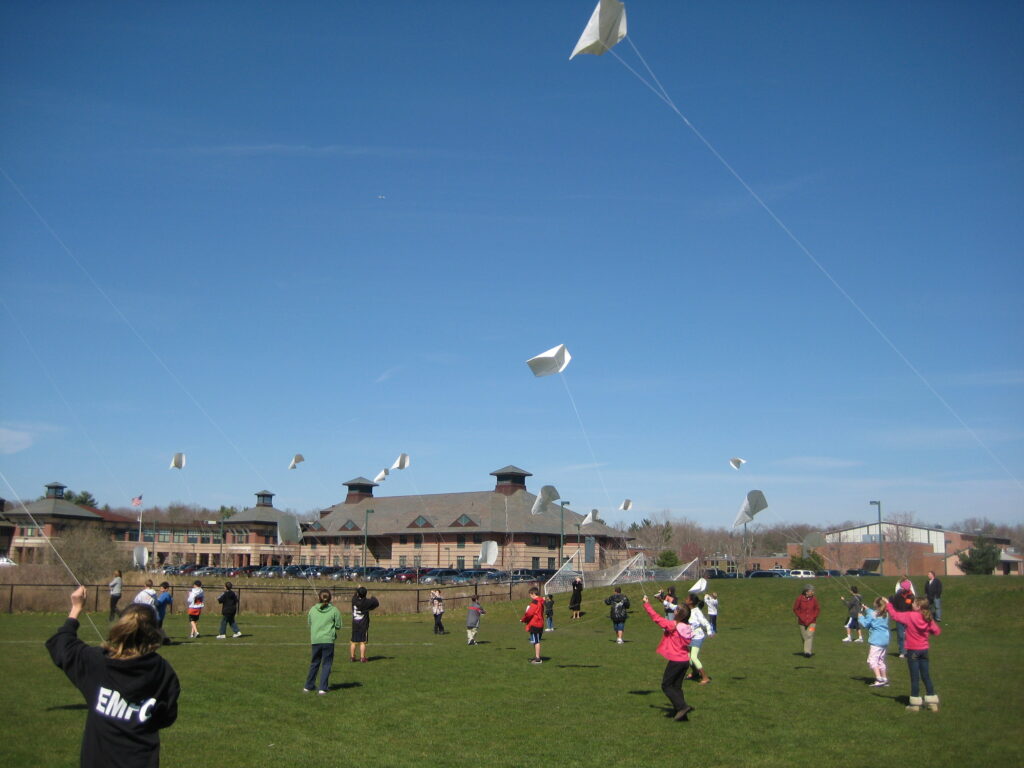
Kites
Aerial photography with kites, as with other methods, has two challenges (1) design and build the kite and (2) build a camera rig that attaches the camera to the kite. For the first challenge, it’s easiest to skip the deign part and just get a commercially made kite which has enough power to lift the camera and camera rig that you build. Simple to build sled kites can lift light instrument parcels. The very popular Frustrationless Flyer is one such sled kite
Sled kites are easy to build and fly very well. There are several kits like these or many designs to build your own from scratch.
Good lifters for light objects include the common kite styles Delta, Diamond, Box or Parafoil. To lift heavier instruments or cameras, larger more sophisticated kites are necessary.
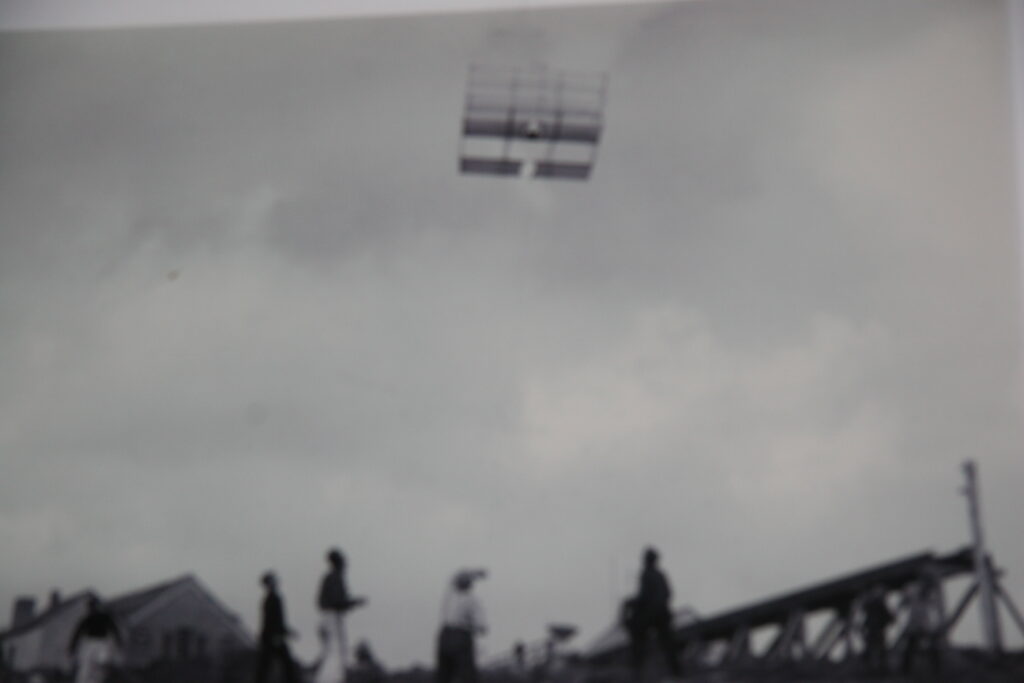
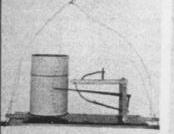
Box Kite with meteorograph on summit of Mount Washington N.H.
If you re lucky, there is a local kite enthusiast who does kite aerial photography and is willing do a demonstration.
Every continent has rules and regulations about how high a kite can be flown. For most of Europe and many other countries the law is 500 feet (160 meters) of line with an above ground height of no more than 200 feet (65 meters).
For shutter release on cameras, you can set up a simple plunger from springs or rubber bands triggered from a separate string to the ground. For a self-contained shutter release camera with a string harness to hold it, the kite needed for lifting can be very simple. Alternatively you can use the self-timer on the camera, or some cameras do time-lapse or other multiple picture taking. For a really exciting perspective, set the camera on video.
The most serious KAP enthusiasts and professionals use radio controlled camera rigs which not only have shutter releases but can also tilt and pan the camera. Some even control the camera zoom feature. There are instructions online and many kits or already built units you can buy.
To lift a more complex camera rig, a more powerful kite or series of kites will be needed. A train of Eddy kites or a gang of sled kites works well. You could train or gang the 4’ diamonds or rokkakus or build a larger kite. Larger kites need stronger materials, better construction and attachment methods and more safety measures on the kite flying field. If you gather the materials yourself, Sleds or Eddy kites which will develop enough power when combined with others can be built for less than $1.00 each. You can buy ready made kits from several companies for slightly higher prices depending on the size, quantity and materials they are made of.
As the kites get larger the time and cost do go up. A four foot tall Eddy or other diamond kite or a Rokkaku can be built with plastic sail material and wooden dowels for spars at a cost of under $5.00.
See
Also
American Kitefliers Association — https://www.kite.org
History of Kites
The first kite was developed over 2,600 years ago in Asia, most likely central or southern China. The materials used were silk for the sail (skin), bamboo for the frame (bones), and linen, cotton, silk or hemp for the rigging and flying line. The exact story is not known. My favorite version combines a couple of the different stories in to another version. You can find many versions and this is a great literature activity to compare and analyze the stories.
Here is one version: There was a farmer tending his crops in a wide open field. The sun was strong so he wore a hat with a very large brim to protect him from the sun. A strong gust of wind blew the hat off his head. He grabbed the hat by the chin strap and it hovered on the wind. As he glanced at his hat, he saw a bird of prey hovering on the wind above the field. That gave the farmer an idea. He went and got some silk fabric, bamboo, glue and some string. He fashioned a model bird and attached string to it similar to the chin strap on his hat. He held the “Kite” (a bird of prey) aloft and let the wind take it. It spun and crashed to the ground. He watched the bird in the sky more closely. He then took his model and modified it to be more like the bird. He launched his new version and it flew for a moment before diving and crashing. With perseverance he fashioned a kite which would stay aloft and get to a reasonably high altitude.
For the next century, most kites looked like flying animals including bats, bees, birds, butterflies, dragonflies and other flying creatures copied from nature. Now kites can be fashioned to look like almost anything and successfully fly. One of the most humorous unique kites of the 20th century is one that looks like a toilet.
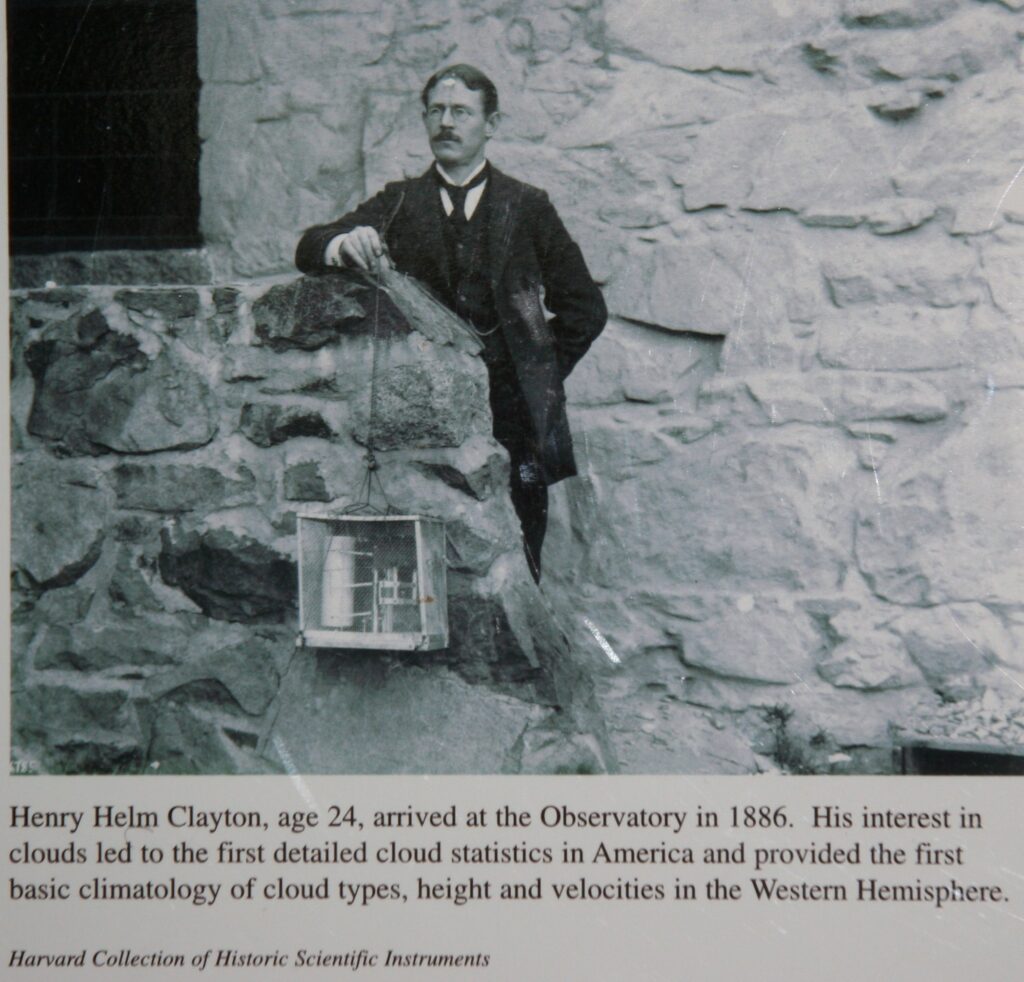
More recently Kite Aerial Photography (KAP) has been used to document special events, dramatic landscapes and peoples’ yards since the 19th century. At Blue Hill Observatory in Milton Massachusetts, the history of kite use and other aeronautic endeavors is rich and diverse. In the 1880s kites were used to study electricity in the air in a manner much safer and more scientific than most peoples’ perception of the Ben Franklin experiment. In the 1890s through the 1920s kites at Blue Hill lifted cameras to survey the land. They also lifted meteorographs, which were devices to measure at least two, and up to 4, aspects of the weather and graph the information on to 24 hour charts. The most frequently flown meteorographs at Blue Hill measured temperature, humidity and altitude/air pressure. Some of the flights also measured wind speed. The average flights were 7,000 feet (about 2,000 meters) above mean sea level (MSL) from Blue Hill which is 635 feet above MSL.
The record for a meteorograph flight at Blue Hill was 15,793 feet above MSL on July 19, 1900. In addition to measurements with kites, large helium balloons also lifted meteorographs. The problem with the balloons was that they frequently flew to places where no one found them. Since the 1930s, radiosondes (a.k.a. weather balloons) were used and there is now a network around the world which releases weather balloons which transmit the weather data back to the ground. From the 1960s through 1998 there were no kite or balloon research activities at Blue Hill.
The only valuable research data that a kite can aid in collecting in the 21st century in most of the world is visual imagery.
Today’s Technology
When it comes to lifting, kites have carried banners, whistles and musical ribbons, humans, cameras, audio equipment and much more. The technology used for most Kite Aerial Photography (KAP) today was developed in the 1980s and has been perfected constantly since then. How large and powerful a kite has to be for KAP depends on many factors. The key ones are: weight of the camera and rigging; strength of the wind, turbulence and other wind characteristics at the flying sight; a single or multiple kites; the desired altitude for photography.