EU10.6. Solar Cone Oven
{ Energy Use Contents } { All GSS Books }
There are many types and designs of solar cookers. They all involve focusing a large area of light into a small region where the food is placed. In general, the sunlight is reflected into the food cooking chamber using inexpensive reflecting surfaces. The reflecting surfaces do not need to be high-quality mirrors. Possible reflecting surfaces include: cardboard, poster board or flexible but stiff plastic sheet covered with aluminum foil; foilboard (posterboard laminated to a silvery surface—available at art stores).
A “box oven” consists of an inner box surrounded by insulating material and a larger outer box made of cardboard or wood. The top of the outer box is glass, allowing sunlight to enter the inner box.
Solar ovens are available from
Solar Cookers World Network networkinfo@solarcookers.org
c/o Solar Cookers International
1919 21st Street, #101
Sacramento, CA 95811
USA
http://scwnet.org
http://www.solarcookers.org
The first type of solar cooker used at Lawrence Hall of Science was the “Cone Cooker” featured in a school visit workshop called Sun Power. That cooker is described on this page.
Parts
- 1 piece of foilboard or other reflecting surface
- tape and/or white glue
- 1 large cardboard box, over 12″ (30 cm) per edge
- 1 large paper fastener
- 1 glass jar with lid
Making the Cone Cooker
1. Draw two quarter circle arcs drawn on reflecting material. The radii of these arcs as shown in the drawing at right determine how big the oven is. 3:1 is a reasonable ratio of radii. The arcs may be drawn using a compass made from a narrow strip of posterboard with holes punched at the required radii.

2. Roll the reflector into a cone shape. Overlap the edges and secure with glue and tape. It helps to roll the reflector into the shape first, then put the glue and tape along one edge, before the final overlapping of the edges. A few wrinkles are OK.
- Punch a hole in the side of the cone about 1/3 of the way up from the tip.
- Punch a small hole near a top edge of the cardboard box. Use a push pin and/or pencil tip to punch the holes.
- Fasten the cone to the box with the paper fastener. The tip of the cone should be pointing down.
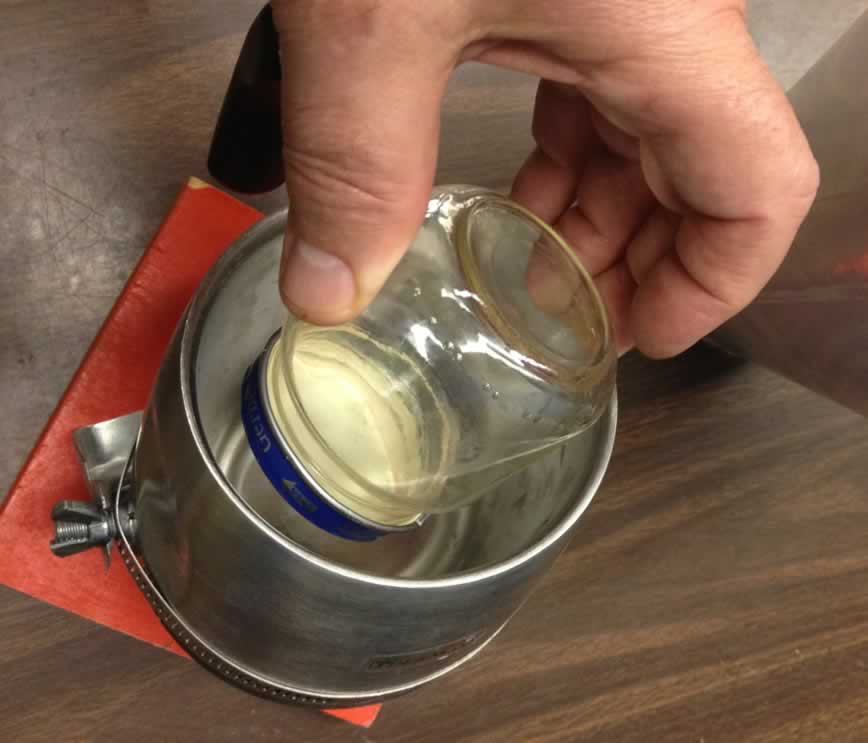
6. A glass jar with a lid can be used for a cooking chamber.
Cooking
- Put food to be cooked in the glass jar and secure the lid.
- Put the jar upside-down into the cone and point the cone at the Sun. You can tell if the cone is properly pointed at the sun by looking at the cone’s shadow. If the shadow is a perfect circle, the oven is properly aligned.
- Cooking time may be 20 minutes or so, depending on what you’re cooking. It’s best to have pot holders to handle the jar when removing it from the cone and handling it while removing the lid.
We usually put sliced apples in these cookers. Adding cinnamon and/or raisins makes a delicious and nutritious snack.
One summer we held a hot dog cooking event with four different kinds of hot dogs (beef, turkey, chicken, & veggie)
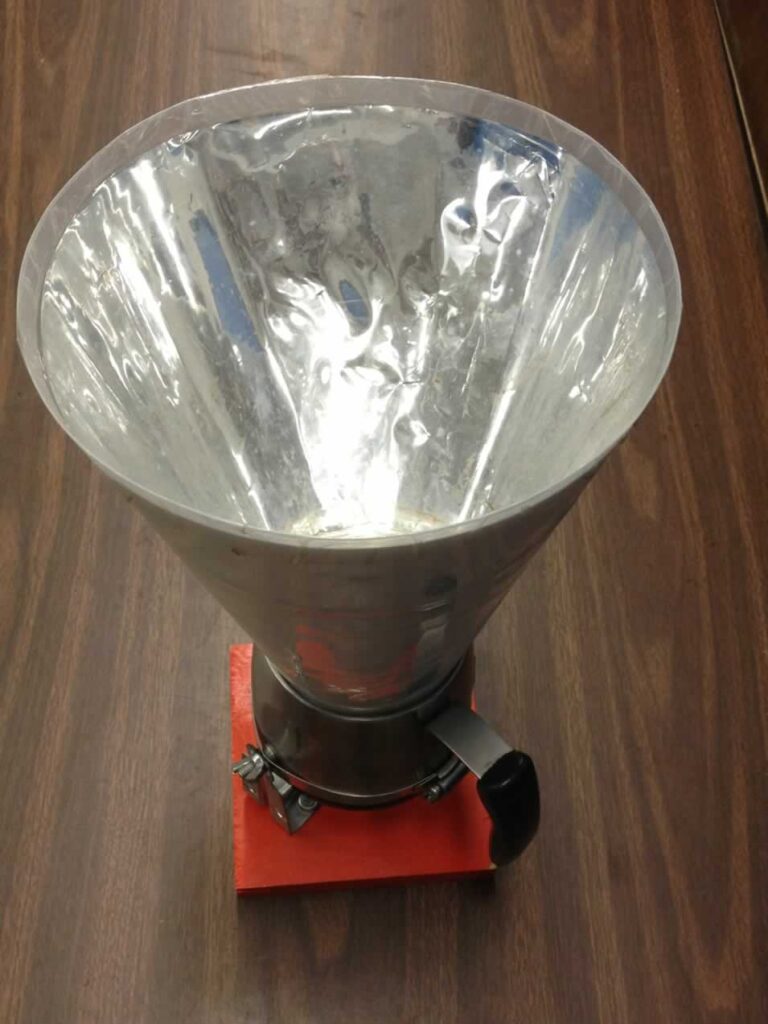
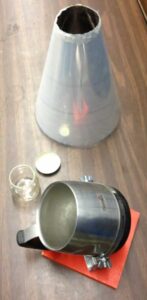
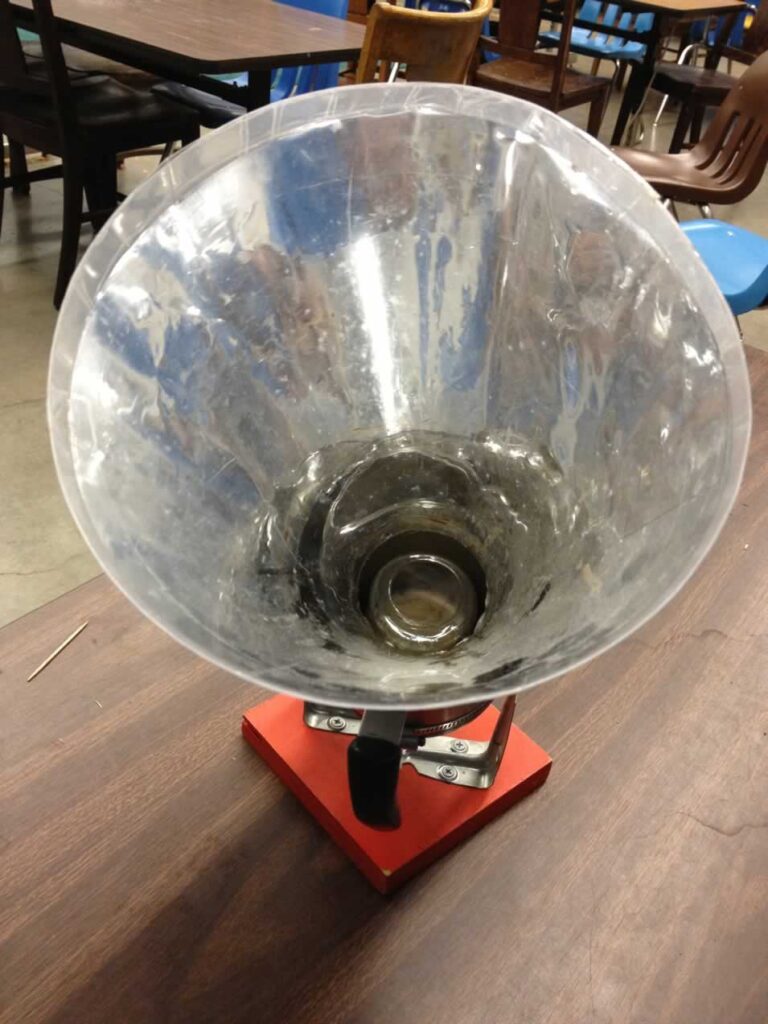
A cone solar cooker on a swivel stand (rather than cardboard box stand) and used in solar workshops at Lawrence Hall of Science. A thermos cup held the glass jar (upside down, lid on the bottom).