
AN2.1. Investigation: Tree Impact Study

As you’ve seen, people’s perception of trees have changed over the past 200 years. The first white settlers saw the forests as barriers to travel; then as sources of building materials and personal wealth. More recently, some have recognized the special role that forests play in Earth’s ecosystem.
Trees are among the oldest living organisms on Earth. Because of their size, complexity, and long life, trees provide a habitat, like an island, that rises far above the ground. Your goal in this study is to document the impact of a large tree on the environment of your school or community.
The project will be more fun and productive if you have one or two partners to work with.
When you are finished, write and illustrate a report.
a. Summarize the data you collected.
b. Display the materials you created.
c. Clearly state your conclusions and recommendations.
Materials for a team of 4 students
- 2 clipboards
- 2 sheets each of graph paper, lined paper, and white paper
- pencils and several fine tip markers
- 1 meter stick
- 10 meters of sturdy string for measuring and flagging areas
- 1 pack of 3″ x 5″ index cards
- 1 roll of clear tape
- 4 to 6 ziplock™-type plastic bags
- clear plastic or glass vials or seasoning bottles with lids
- 1 outdoor thermometer
- access to field guides to trees, birds, and other local animals
- materials for “Tree Creations” activity on page 23
Tree Biodiversity
1. Examine the roots, trunk, branches, leaves and ground area below the tree’s crown (the tree’s foliage—leaves and branches) for evidence of animal and plant life. Describe and draw plants, fungi, and animals on index cards, noting the location of the organisms. Include sketches of evidence of life such as nests, holes, galls (swellings on the tree’s trunk due to insects or fungi), droppings, feathers, animal burrows, nibbled leaves, and nuts.
2. Pick an open area nearby that has approximately the same dimensions as your tree study area. Use the same procedures to examine and compare the number of different kinds of organisms found in the open.
3. Compare the soil and the dead leaf litter of the two areas. Are there layers of decomposing leaves and twigs? What small organisms do you find in each area?
4. Determine the amount of clay in each area’s soil by wetting a handful and rolling it to make a “log.” Soil with little clay will crumble. Soil with a lot of clay can be formed into a long “log.”
5. Compare the components of the soil under the tree with the soil in the open area. Put a rounded spoonful of each kind of soil into a separate clear plastic vial or seasoning bottle. Fill each container with water, cover with a lid, and shake. Set aside the containers for five minutes until the water clears. By observing the layers that form you can compare the amounts and properties of the various materials making up each soil sample.
Tree Math
1. Using graph paper, sketch a map showing where the tree is located in relation to landmarks such as streets and buildings.
2. Estimate the height of the tree. Tie a string around the tree, two meters above the ground. Hold out your fist at arm’s length, and back away from the tree until your fist appears to just fit between the ground and the string. At that distance, count how many fists it takes (one on top of the other) to reach the top of the tree. Multiply the number of fists by two meters to find the estimated height in meters.
3. Estimate the radius of the crown; then calculate the area of ground shaded by the crown using the radius and the formula for the area of a circle.
[Area of a circle: A = π R2, where π = 3.14 and R = the radius of the circle]
4. Use a string to measure the circumference of the tree trunk one meter from the ground, and use that measurement to calculate the diameter of the tree.
[Circumference of a circle: C = π D, where D is the diameter.]
5. Estimate the volume of wood in the trunk, using the formula for the volume of a cylinder. If the tree tapers to a very small diameter at the top, reduce your estimate by half.
[Volume of a cylinder = area of a circle times the height of the cylinder;
V = π R2 x H, where H is the height of the cylinder.]
6. Use your measurements to draw a representation of your tree to scale on a sheet of graph paper. Use rectangles for the trunk and limbs, and triangles, circles, or ovals for the crown.
Tree Social Studies
Research the history of your tree. There are several strategies you might use. For example, you might talk with elderly people in the neighborhood to learn about the history of the site. Contact your city’s parks and gardens department to learn of city records that document the tree’s planting and care. Locate old photographs of the area.
Choosing one of the following:
- Determine what species your tree is and when it was planted. Describe the tree’s environment during its first year of growth.
- Describe some of the major changes in the local environment that have occurred during the life of your tree, and how the tree’s habitat may have been affected.
- Describe a modern day in the life of the tree that includes some of the ways local people interact with it.
- Describe how the neighboring community might be affected if the tree were to be cut down.
Tree Creations
Celebrate your tree through an artistic medium. Your creation should include some of what you have learned about the tree, the organisms that inhabit it and/or the way people use the tree.
Choose one of the following:
- Write a poem or song and present it to your family or a group of students.
- Photograph or videotape your tree in a way that captures the “spirit” of the tree and its importance to the community.
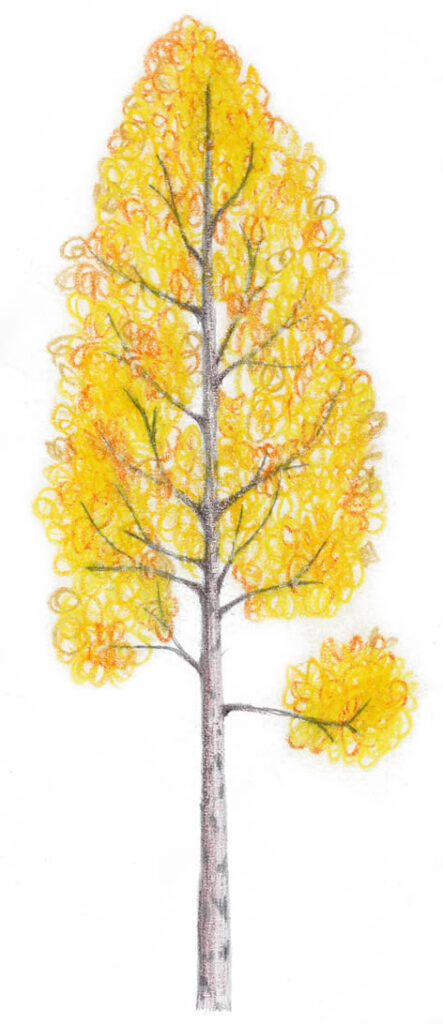
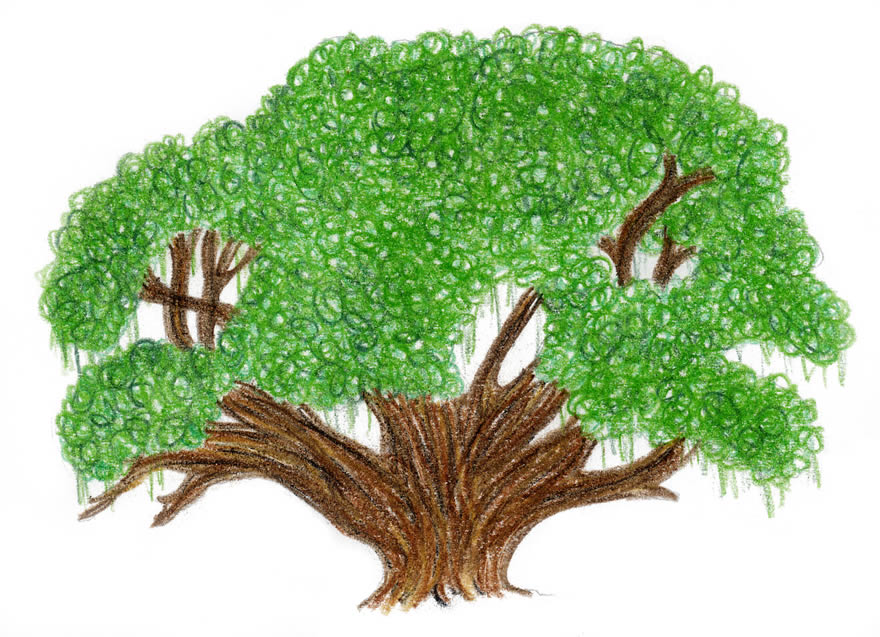
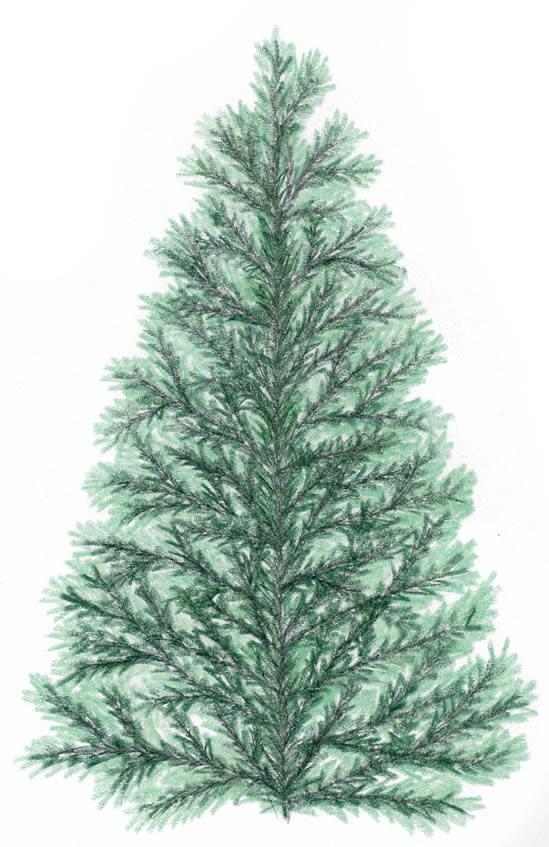
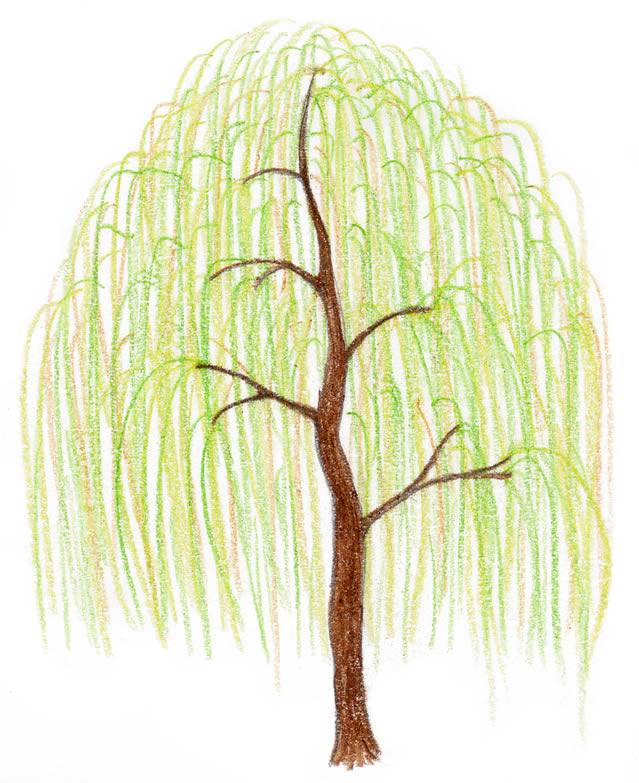
- Create a sketch, painting, or sculpture of your tree.
- Make leaf rubbings or a collage of tree parts.
- Write a fiction or nonfiction story about your tree.